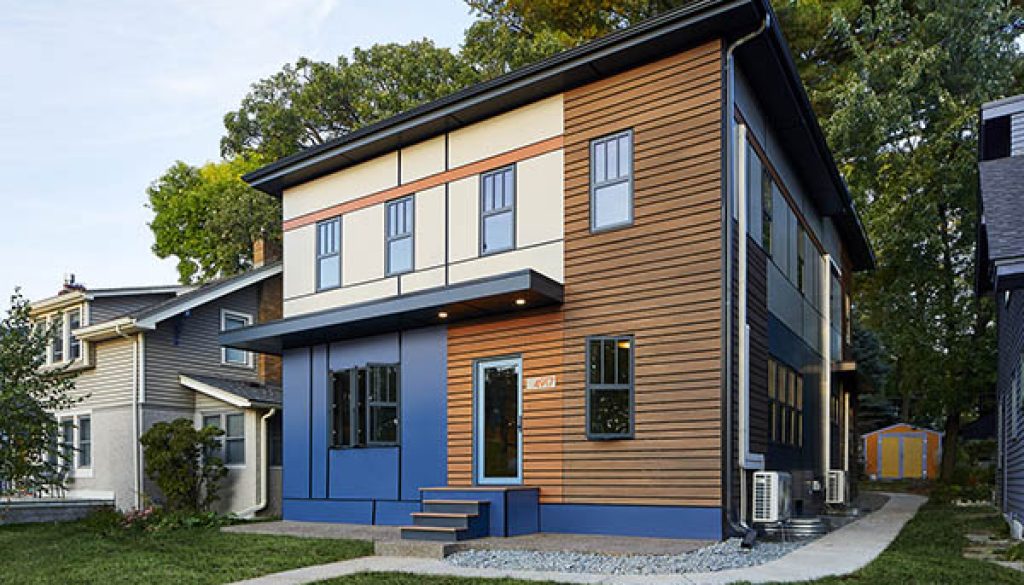
Timbertech Cladding Installation Guide
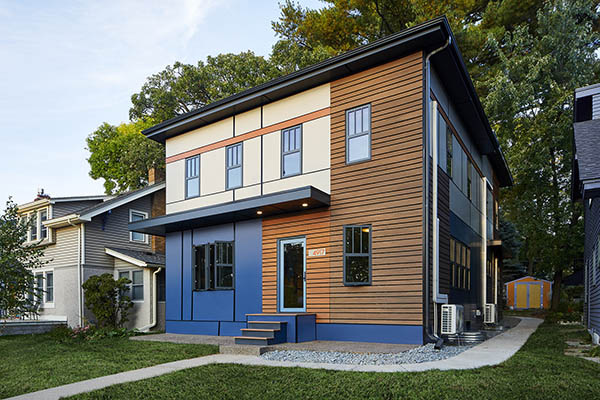
An Easy Timbertech Cladding Installation Guide
Welcome to our detailed guide on installing Timbertech cladding. This resource is crafted for both professionals and DIY enthusiasts to ensure a successful installation of Timbertech cladding, resulting in a long-lasting and visually appealing exterior for any building or home renovation project. Brazilian Lumber is your reliable supplier for Timbertech cladding, supporting you with quality products and expert advice.
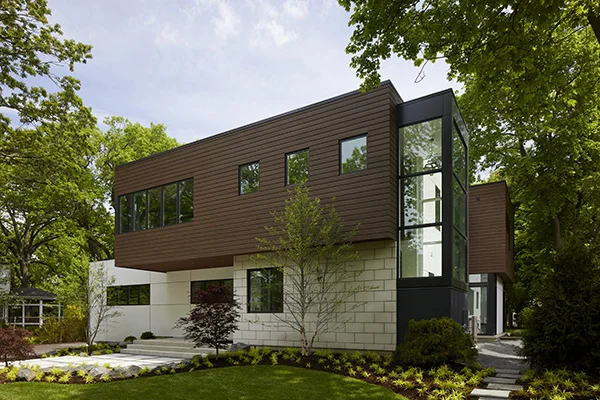
Introduction to Timbertech Cladding Installation
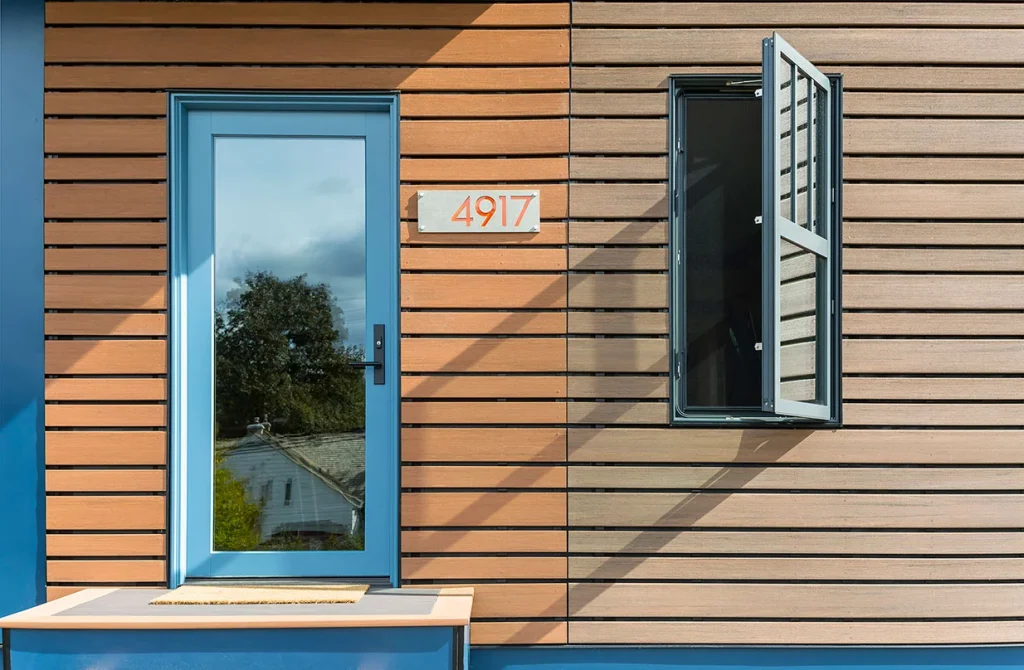
Timbertech cladding is a premium exterior cladding product from the AZEK family. It merges the natural beauty of wood with the durability of polymer technology, offering a weather-resistant solution that enhances your building’s aesthetics without the upkeep needed for traditional wood cladding.
Key Features and Benefits
–Low Maintenance: No painting or sealing is required.
–Durability: Resistant to mold, mildew, moisture, stains, scratches, and insects.
–Aesthetic Appeal: Realistic wood texture and rich colors.
–Longevity: Backed by industry-leading warranties, does not split, rot, or crack.
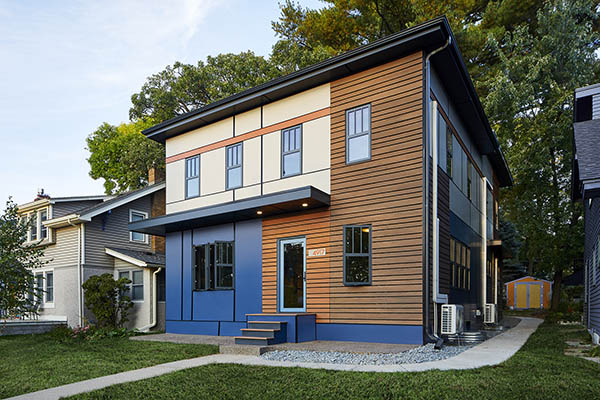
Preparation for Installation
Materials and Tools Required
-TimberTech cladding boards
-2×4 pressure-treated furring strips
-Recommended fasteners (screws)
-Level, tape measure, and saw (for cutting and miter work)
-Drill or screwdriver
Preparing the Foundation
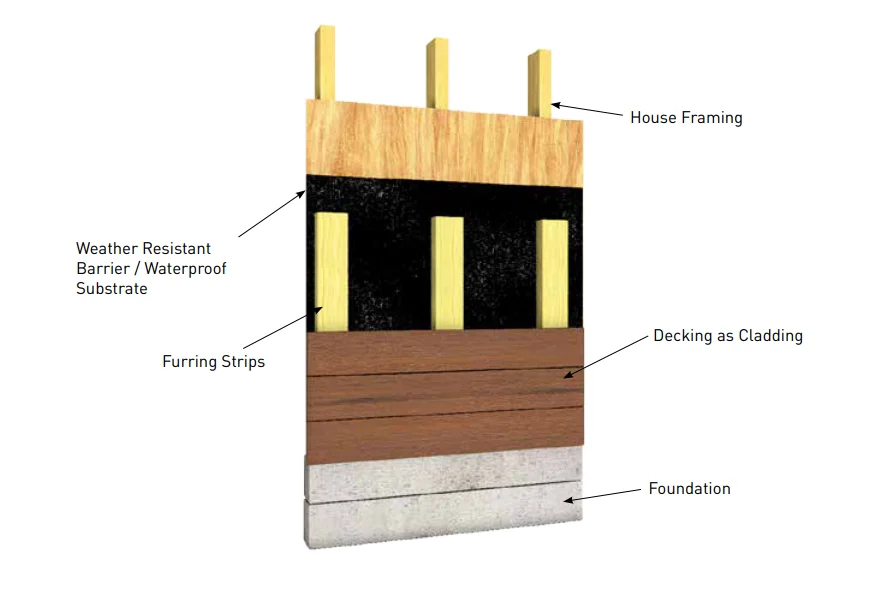
1. Wall Preparation: Ensure the wall is weather-resistant. Paint the furring strips a dark color to minimize visibility.
2. Furring Strips Installation: Fasten the furring strips 16 inches on center using the recommended fasteners.
Step-by-Step Installation Process
Placing the Cladding Boards
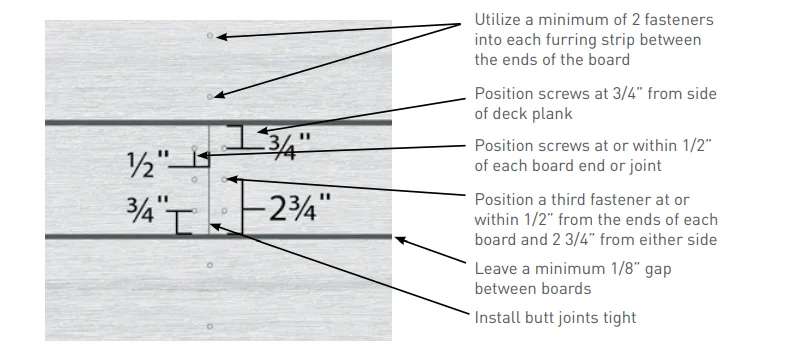
1. Spacing: Maintain a minimum gap of 1/8 inch between the boards. Install three fasteners at the ends of each board to secure them in place.
2. Alignment: Ensure all courses are level. For corner boards, miter cutting provides a clean finish; alternatively, use AZEK trim for a consistent aesthetic.
Fastening and Customizing
1. Fastener Positioning: Place screws 3/4 inch from the side of the plank and within 1/2 inch of each board end or joint. A third fastener should be placed within 1/2 inch from the ends of each board, 2 and 3/4 inches from either side.
2. Handling Variances: Additional furring may be required around doors and windows to maintain a uniform installation surface.
Final Touches
Addressing Expansion and Contraction
1. Board Movement: Expect slight gaps at splice joints due to expansion and contraction, which is normal. Follow our guidelines to minimize these effects.
2. Check for Consistency: Ensure all boards are securely fastened and aligned. Make adjustments as necessary to achieve a seamless appearance.
Additional Considerations
Troubleshooting Common Issues
–Warped Boards: Ensure furring strips are perfectly level and properly spaced.
–Improper Fastening: Use the correct fasteners and ensure they are placed as per the guidelines to prevent loose boards.
–Uneven Surface: Re-check the wall preparation and furring strip installation for any discrepancies.
Maintenance Tips
–Regular Cleaning: Although low maintenance, occasional cleaning with soap and water can keep the cladding looking new.
–Inspection: Periodically check for any loose boards or fasteners and address them promptly.
Conclusion
By following these comprehensive steps, your Timbertech cladding installation will enhance your home’s exterior with lasting beauty and superior performance. Timbertech cladding offers an attractive and practical solution for exterior design and a smart investment for enduring appeal. Adhere to this guide to ensure your installation is as flawless as the final outcome.
Ready to Transform Your Home?
Embrace the durability and elegance of Timbertech Cladding, available at Brazilian Lumber, and elevate your home’s aesthetics to new heights. Happy installing!
