- Thermally Modified Wood
- Composite
- Wholesale
-
- About Us
- Contact
-
- Anaheim
- Altadena
- Arcadia
- Brentwood
- Beverly Hills
- Brea
- Burbank
- Calabasas
- Carpinteria
- Chula Vista
- Costa Mesa
- Diamond Bar
- El Segundo
- Encino
- Fontana
- Fremont
- Glendale
- Hollywood
- Huntington Beach
- Irvine
- Irvine
- La Canada
- La Crescenta
- Laguna Beach
- Long Beach
- Los Angeles
- Malibu
- Manhattan Beach
- Marina del Rey
- Modesto
- Montecito
- Montrose
- Moreno Valley
- North Hollywood
- Oakland
- Orange County
- Oxnard
- Pacific Palisades
- Pasadena
- Rancho Palos Verdes
- Redondo Beach
- Sacramento
- San Bernardino
- San Diego
- San Francisco
- San Jose
- San Mateo
- San Pedro
- Santa Barbara
- Santa Monica
- Seal Beach
- Sierra Madre
- Silver Lake
- South Pasadena
- Sunnyvale
- Tustin
- Venice
- West Hollywood
- West Los Angeles
- Whittier
- Woodland Hills
- Pay With Affirm
- Terms and Conditions
CALL FOR FREE QUOTES
- Thermally Modified Wood
- Composite
- Wholesale
-
- About Us
- Contact
-
- Anaheim
- Altadena
- Arcadia
- Brentwood
- Beverly Hills
- Brea
- Burbank
- Calabasas
- Carpinteria
- Chula Vista
- Costa Mesa
- Diamond Bar
- El Segundo
- Encino
- Fontana
- Fremont
- Glendale
- Hollywood
- Huntington Beach
- Irvine
- Irvine
- La Canada
- La Crescenta
- Laguna Beach
- Long Beach
- Los Angeles
- Malibu
- Manhattan Beach
- Marina del Rey
- Modesto
- Montecito
- Montrose
- Moreno Valley
- North Hollywood
- Oakland
- Orange County
- Oxnard
- Pacific Palisades
- Pasadena
- Rancho Palos Verdes
- Redondo Beach
- Sacramento
- San Bernardino
- San Diego
- San Francisco
- San Jose
- San Mateo
- San Pedro
- Santa Barbara
- Santa Monica
- Seal Beach
- Sierra Madre
- Silver Lake
- South Pasadena
- Sunnyvale
- Tustin
- Venice
- West Hollywood
- West Los Angeles
- Whittier
- Woodland Hills
- Pay With Affirm
- Terms and Conditions
WOOD WALL PANELS
A strong and protective exterior with a seamlessly simple aesthetic.
Shop the Best Grid Wood Wall Panels for Stunning Interiors and Exteriors in Los Angeles
Transform Your Space with Grid Wood Wall Panels: Perfect for Interiors and Exteriors
Brazilian Lumber has a great variety of woods and composite grid wall panels for residential and commercial applications.
Wood wall panels are an excellent choice for adding warmth, texture, and visual interest to any interior or exterior space. Made from high-quality, sustainable wood species, these panels are durable, long-lasting, and environmentally friendly.
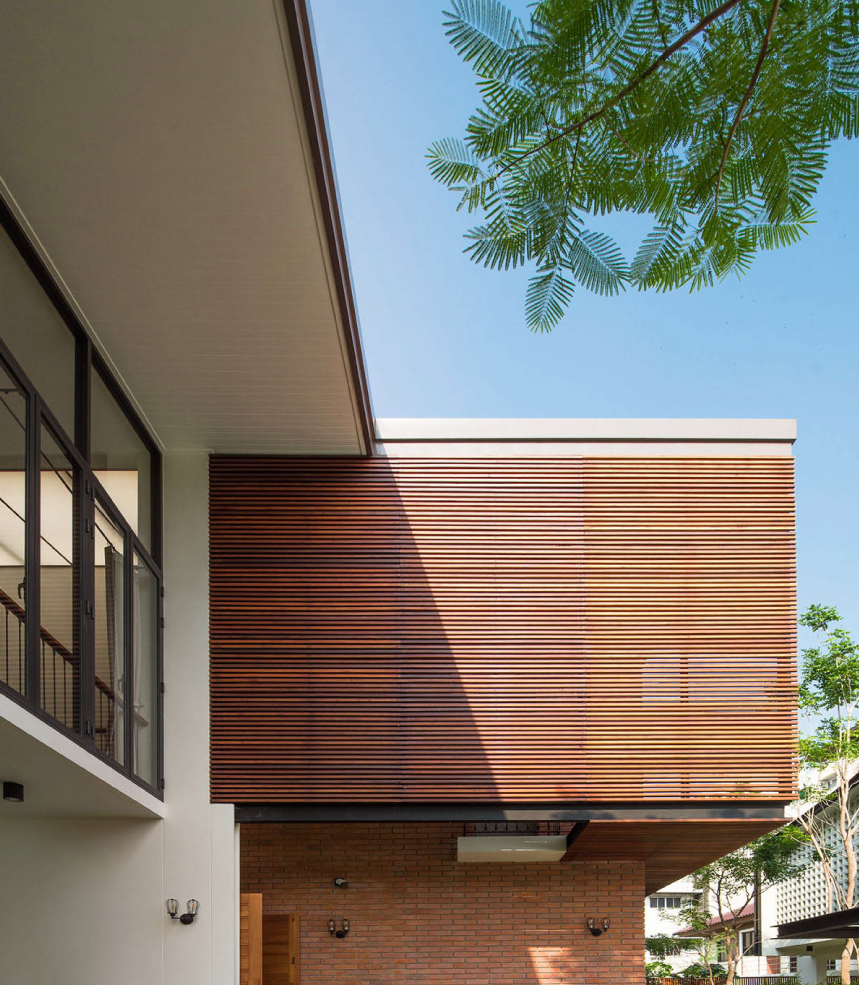
Wood Wall Paneling Applications
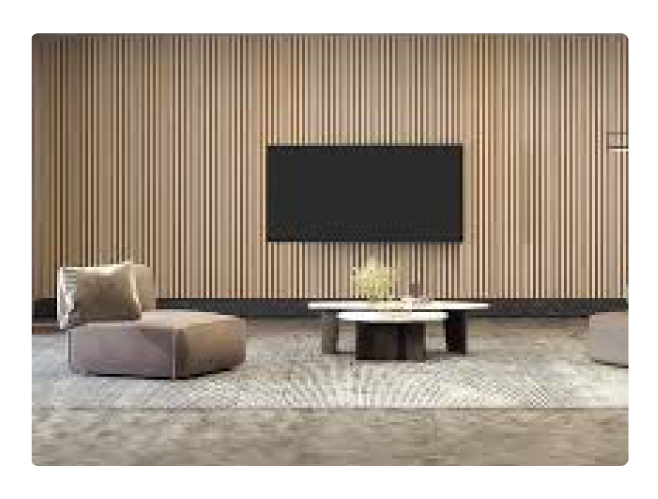
TV lounge
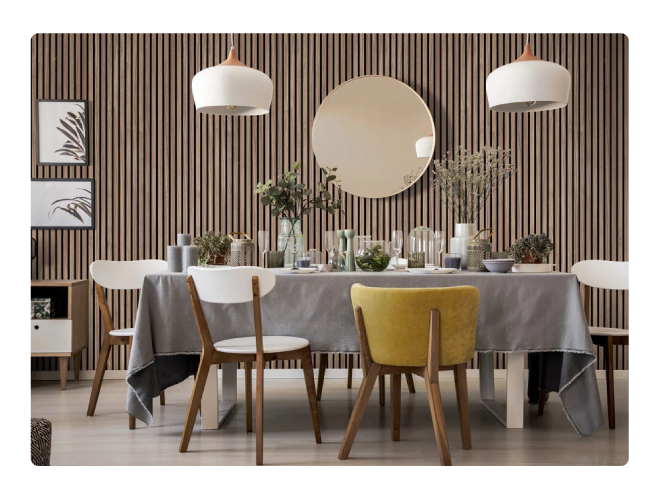
Dining room
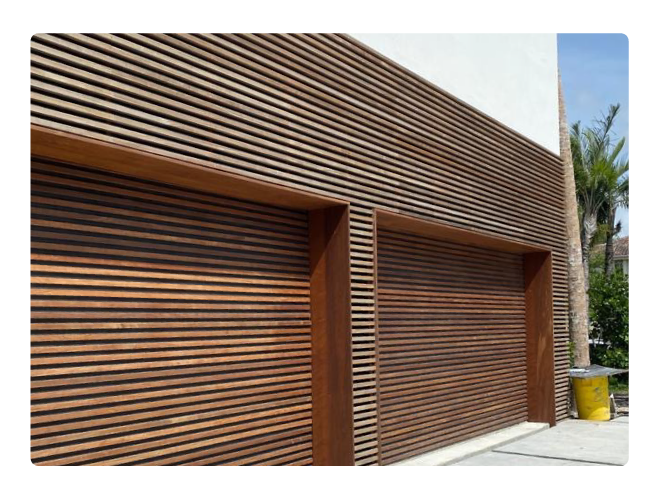
Garages
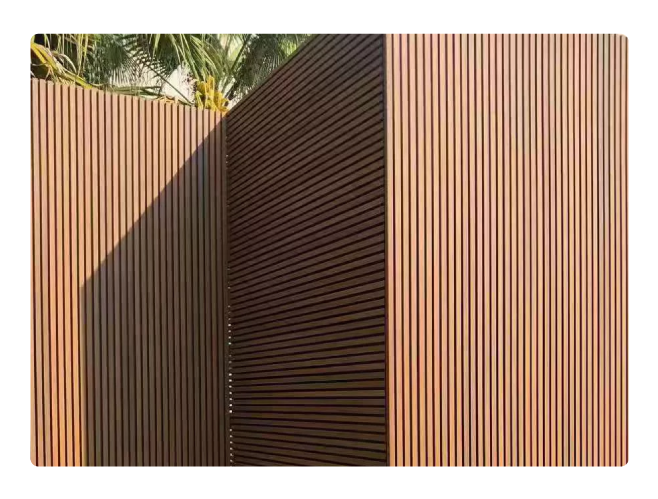
Exteriors
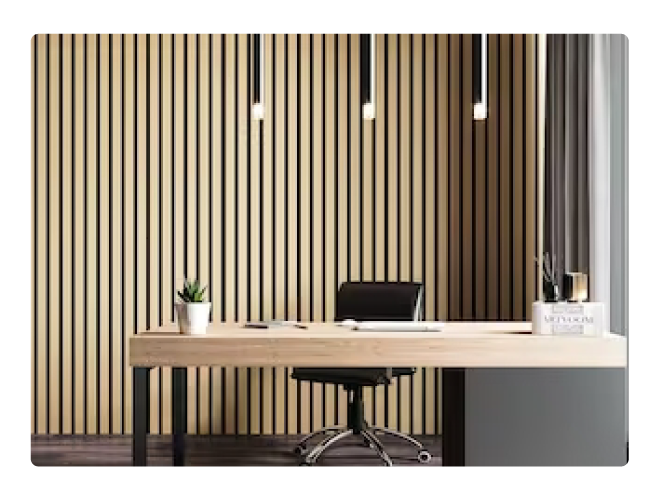
Offices

TV lounge

Dining room

Garages

Exteriors

Offices
Wood Wall Paneling in Los Angeles
As a leading provider of wood wall paneling in Los Angeles, we have the experience and capabilities to produce high-quality panels in the dimensions you need. We only use the best collections available to ensure premium results. Our team of experts can work with you to create unique, inspiring wall paneling solutions that will make your project stand out.
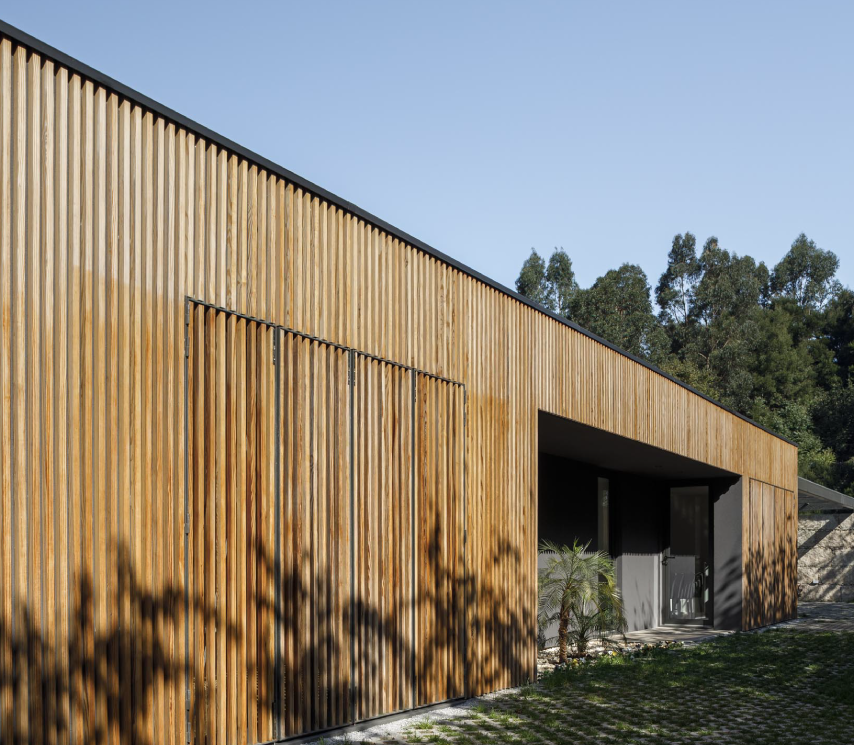
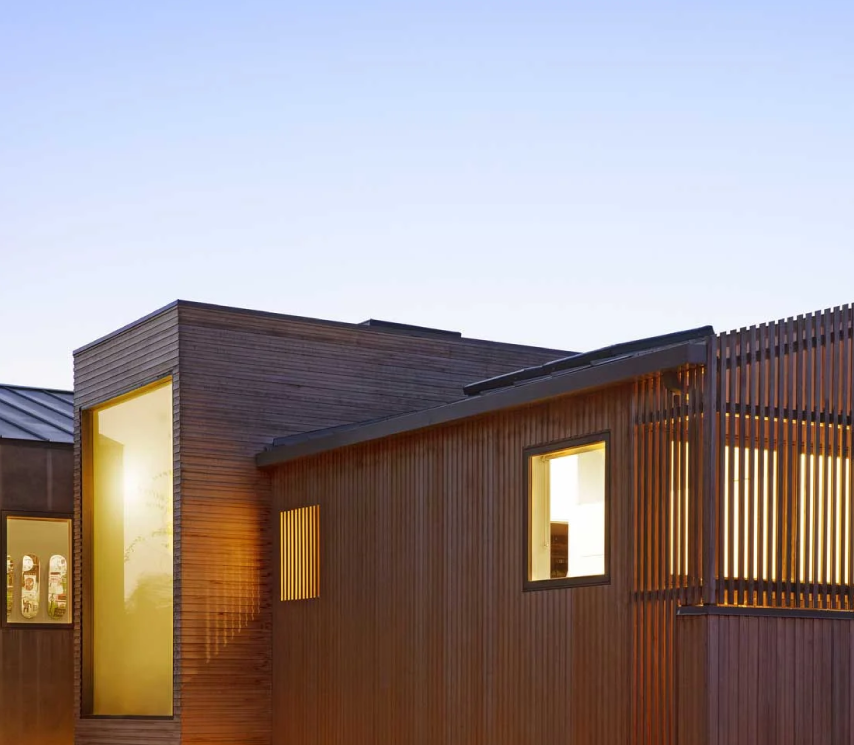
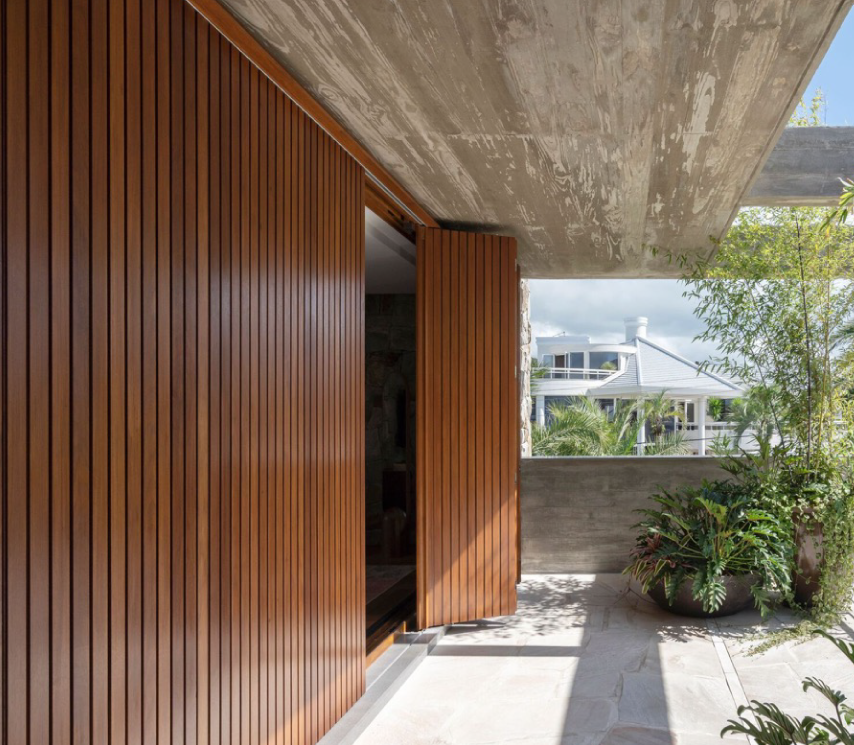
Elegant style that delivers more and costs less
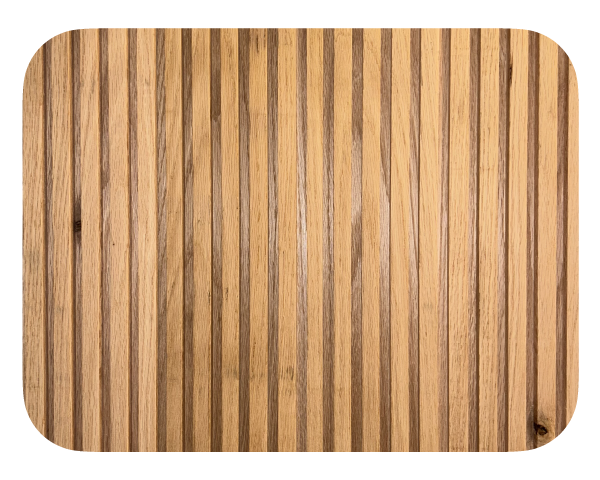
Slat Panel
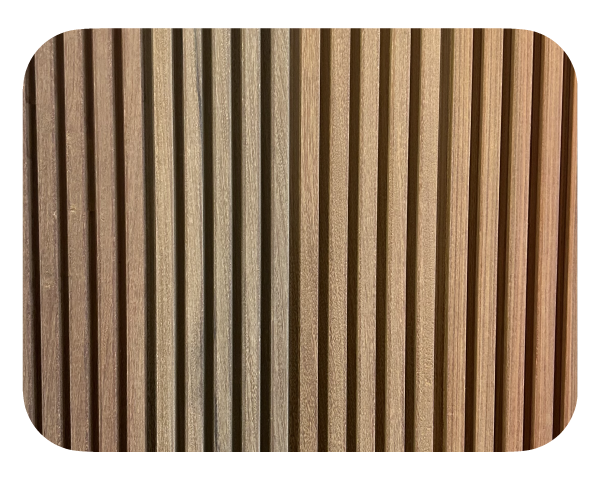
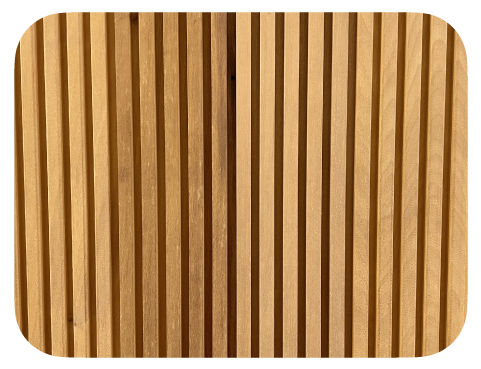
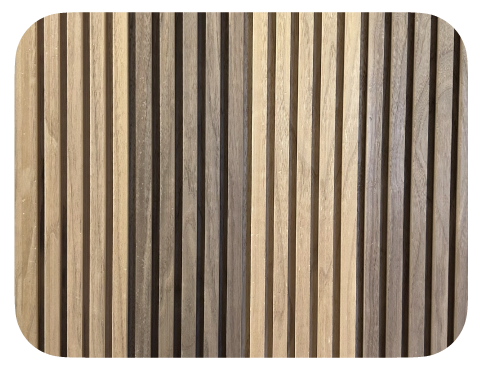
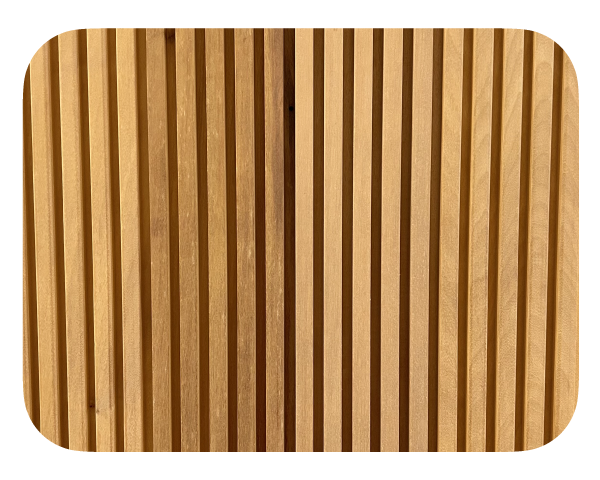
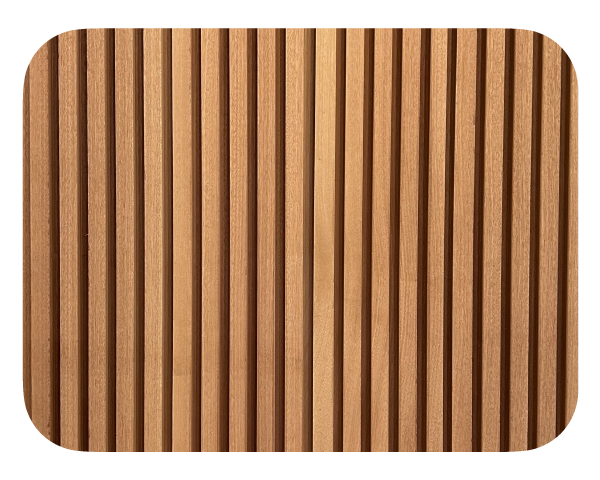
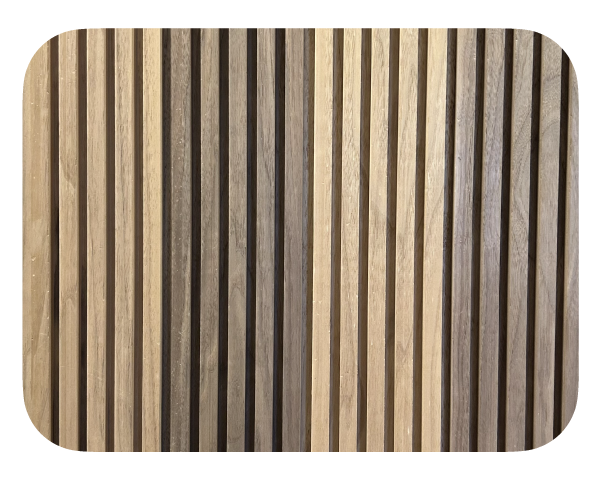
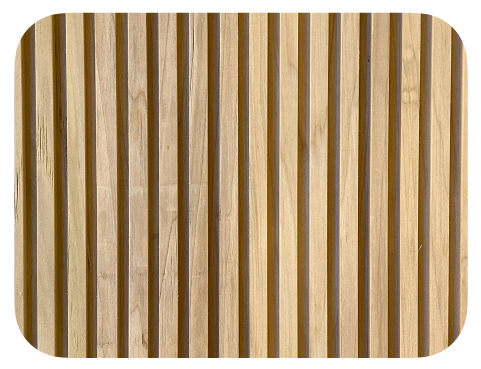
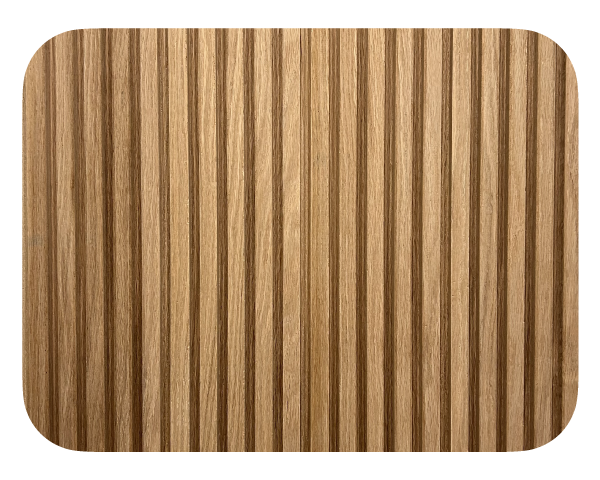
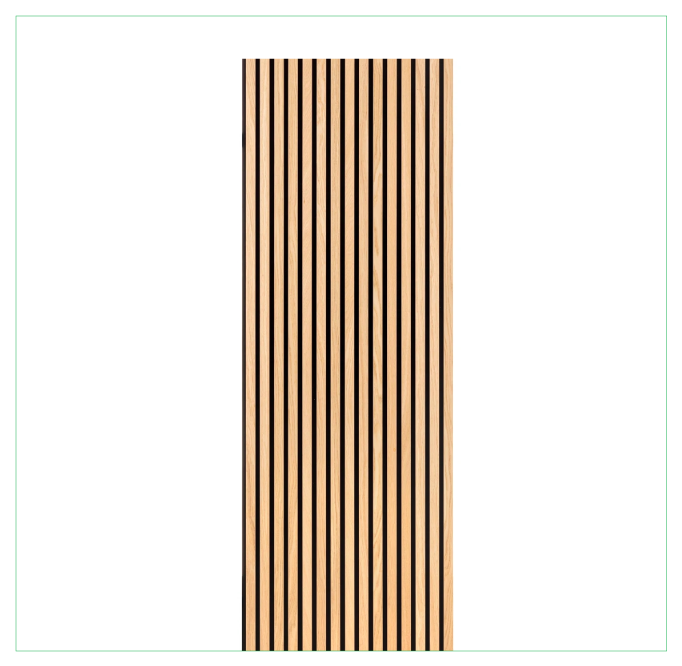
Slat panels are an innovative and versatile wall paneling solution that has become increasingly popular. Our wood panels are made from durable, sustainable materials such as red oak, white oak, walnut, ipe, cumaru, jatoba, garapa, sapele, and poplar. Slat panels are available in a variety of colors, grains, and sizes, allowing you to create a customized look that complements your space. They are easy to install and require minimal maintenance, making them a cost-effective and long-lasting solution for any wall paneling needs.
Dimensions
5/4” x 6”x any length from 3 feet to 20 feet.
Nominal Dimensions
1″ x 5 1/2″ any length from 3 to 20 feet.
Luxury
Real Wood
Care and maintenance
The easiest way to keep your wood panels clean is to prevent dirt and dust from accumulating in the first place. A regular dusting with a soft cloth will go a long way toward keeping the surface clean. If you have wood panels that are finished with an oil or wax, light cleaning with a damp cloth should be all that’s needed. Another way to help keep the surface clean is to add a protective finish, such as wood oil.
This will not only help protect the wood from dirt and dust, but it will also keep the natural look and feel of the wood. Once the finish is applied, light dusting will be all that’s needed to keep the surface clean.
Installing Tongue And Groove Hardwood Grid Wall Panels
Installing tongue and groove hardwood grid wall panels can add a touch of natural beauty and elegance to any interior space. Here’s a step-by-step guide to help you install these panels properly:
Materials Needed:
• Grid wall panels
• Measuring tape
• Level
• Drill
• Screws
• Wall anchors
• Saw (if panels need to be trimmed)
Step 1: Measure the wall
Measure the wall where you plan to install the panels to determine how many panels you will need. Also, measure the height and width of each panel to ensure they fit properly.
Step 2: Prepare the panels
If necessary, trim the panels to fit the wall. Use a saw to cut the panels to the desired length. Next, pre-drill holes into the panels using a drill bit slightly smaller than the screws you will be using. This will help prevent the wood from splitting when you attach the panels to the wall.
Step 3: Install the first panel
Begin at the bottom of the wall and install the first panel. Place the panel in the desired location and use a level to ensure it is straight. Use screws to attach the panel to the wall’s furring strips. If the wall is made of drywall or plaster, use wall anchors to secure the panel.
Step 4: Install the next panel
Install the next panel by inserting the tongue of the panel into the groove of the previous panel. Use a level to ensure the panel is straight and then secure it to the wall with screws.
Step 5: Repeat the process
Repeat the process of inserting the tongue into the groove and securing the panel to the wall until you have installed all the panels.
Step 6: Finish the edges
If the panels do not fit flush against the wall, you can finish the edges with molding or trim to create a seamless look


